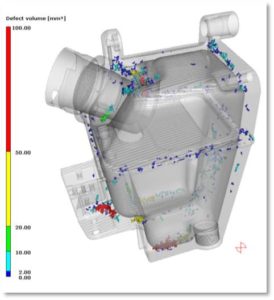
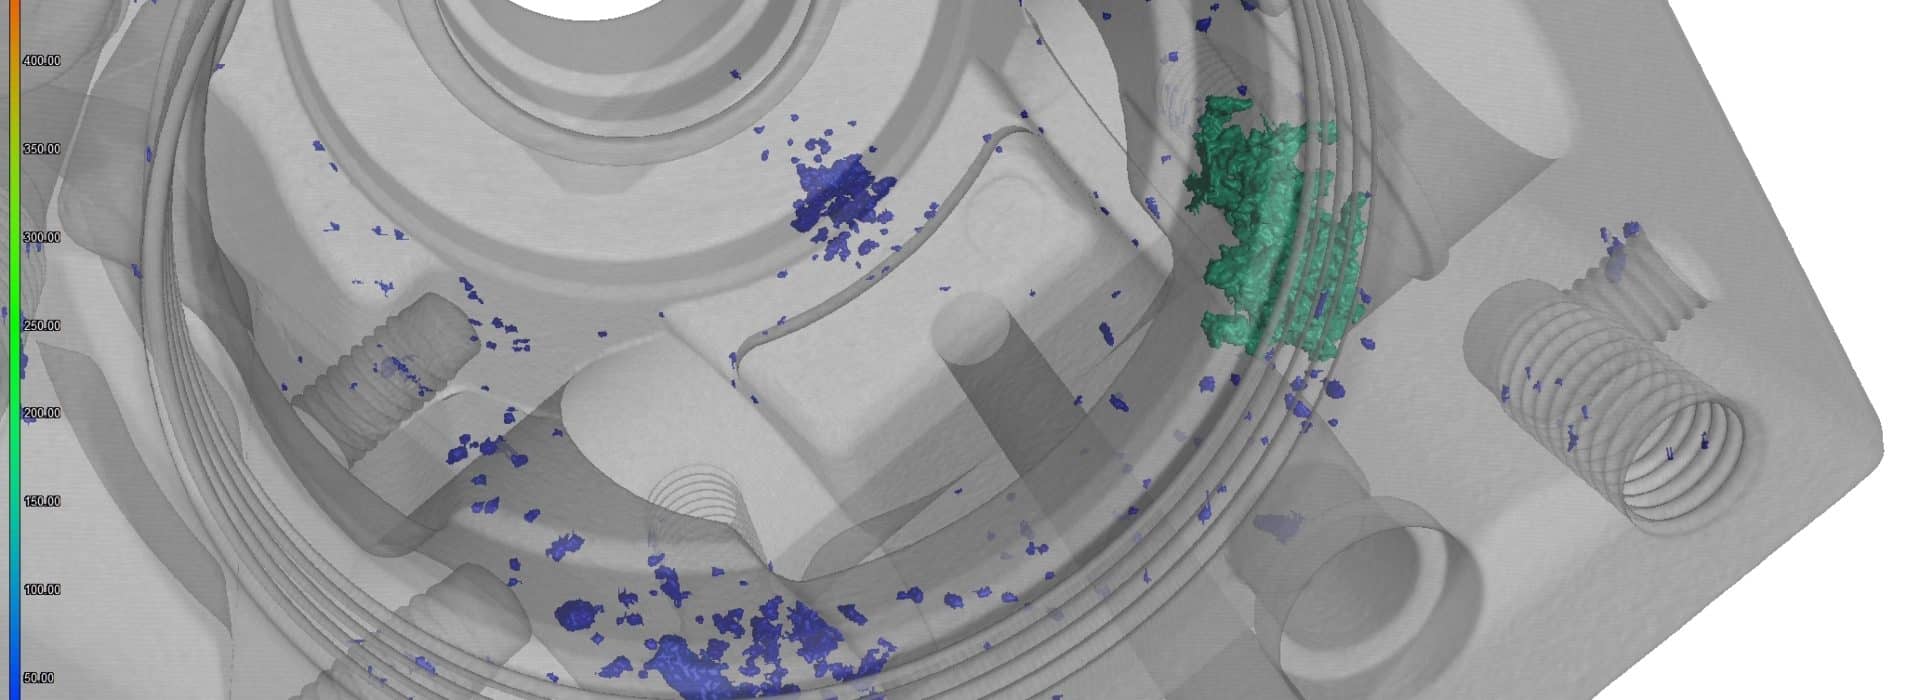
Three-dimensional representations of defects and inhomogeneities
The iCT enables a three-dimensional representation of your component, including possible defects or inhomogeneities. With this knowledge, you can optimize your processes quickly and efficiently if required.
Providing a three-dimensional perspective
Using iCT, a 3D representation of the component including the existing porosity can be obtained within a short time. This can be evaluated with regard to various aspects, such as total porosity, pore volume, pore size or number of pores in the complete component or only in partial areas (RoI) and colored. Inclusions or cracks can also be detected and displayed graphically. An imported CAD file allows valuable conclusions to be drawn about the processed condition of the component. This makes it possible to see at a glance whether the inhomogeneities are still in the component after machining or whether they are being removed.

- Analysis of entire object or ROI (Region of Interest)
- Manual and automatic detection of inhomogeneities such as pores and inclusions
- Calculation of various parameters: e.g. position, sphericity, defect size, volume, x-, y- and z-dimensions, projection surface, distance of defects to reference surfaces (object surface or CAD)

